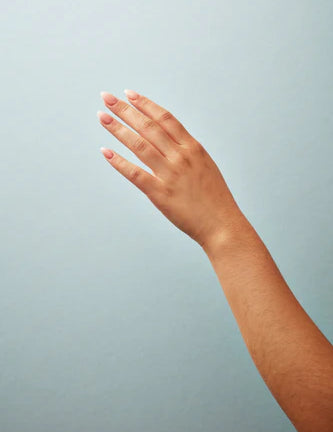
How to: Prepare your nails and cuticles

Ready for Perfect nails? Follow these easy steps
What do you need
80/100 grit buffer
120/180 file
Manicure brush
Cutitcle softner
Liquid remover
Cuticle pusher

Step 1: Shape your nails
Start by shaping your nails with our 120/180 nail file. Choose the shape you’ll love - whether it’s a chic almond or classic square . Make sure to file in one direction to prevent splitting and ensure a smooth edge.
Step 2: Buff for Smoothness
Buff your nails to ensure a smooth surface using our Buff grit 100/180. This helps your BIAB or polish go on evenly and last longer. Pro tip: Use gentle, circular motions and avoid over-buffing to prevent weakening your nails.
Step 3: Brush Away Dust
Use our manicure brush to sweep away any dust from filing and buffing. Clean nails are key to a flawless finish! Pro tip: Tilt your hand downward while brushing to make sure all the dust falls away from your nail surface.
Step 4: Soften and Push Cuticles
Apply our cuticle softener around your cuticles. Massage the product in your skin, then gently push back your cuticles with our double-sided cuticle pusher. This creates more for your BIAB application and gives a clean, neat look. Pro tip: Use the rounded side of the pusher for a gentle push and the pointed side for precise cleaning around the edges.
Step 5: Remove Excess Oil
Wipe away any excess oil or residue from your nails. Clean, oil-free nails help the builder gel adhere better. Pro tip: Use our liquid remover and a lint-free wipe to make sure all oils are removed completely.
Step 6: Final Buff
Feel your nails. If needed, use our buffer to even out any remaining texture. Smooth nails are the perfect canvas for your next step! Pro tip: Buff in one direction to avoid creating heat and friction which can damage the nail surface.

